
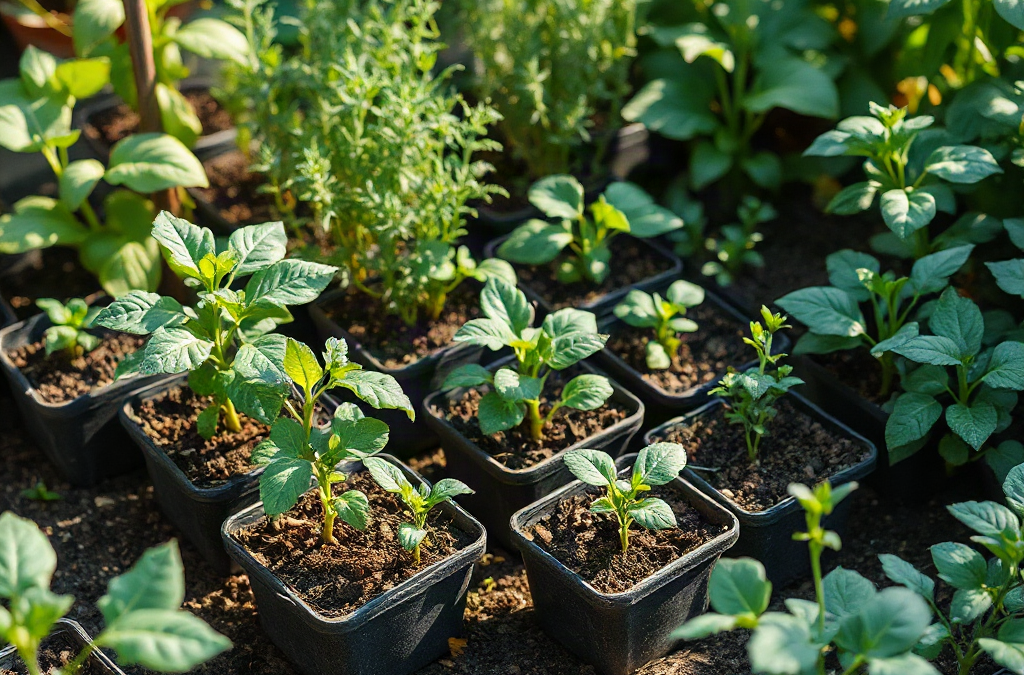
A square-foot planting guide divides limited garden space into 12-inch squares, then assigns each square a crop density based on mature plant width, root competition, and airflow needs. Large crops usually occupy one or more squares, while medium, small, and extra-small crops may fit 4, 9, or 16 plants per square. Place tall or trellised vegetables where they will not shade shorter crops, and keep spreading vines outside the bed or train them vertically. Treat density charts as starting points: thin crowded seedlings, adjust for vigorous varieties, and maintain consistent watering because closely planted beds dry unevenly.
What you’ll learn
This guide covers the following practical points:
- How Does Square-Foot Spacing Work? — Square-foot spacing replaces long, widely separated rows with a visible grid of 12-inch-by-12-inch growing areas.
- How Many Plants Fit in Each Square? — Plant count should be selected from the crop's expected harvested size, not from how many seeds come in the packet.
- How Should You Arrange a Compact Bed? — A productive layout accounts for height, support, harvest access, and crop duration before assigning individual squares.
- Planting, Maintaining, and Replanting Each Square — Accurate placement at sowing time reduces thinning work, but germination and weather still require follow-up.
How Does Square-Foot Spacing Work?
Square-foot spacing replaces long, widely separated rows with a visible grid of 12-inch-by-12-inch growing areas. Each square receives a planting pattern suited to the mature width of a particular crop. The grid can be marked with thin wood strips, string, or another material that remains visible without creating a tripping or snagging hazard.
The familiar densities of 1, 4, 9, or 16 plants per square come from dividing a square into equal planting points. Four plants are centered in four 6-inch cells, nine use a three-by-three arrangement at roughly 4-inch intervals, and sixteen use a four-by-four arrangement at about 3-inch intervals. A single large plant sits near the middle of its square. These measurements describe center-to-center spacing, not an empty border around every plant.
Mature spread matters more than the size of a seedling at transplanting time. A young pepper may look lost in a full square, but its branching canopy eventually needs light and moving air. Conversely, radish seeds can be placed much more closely because each plant forms a relatively narrow top and root. Packing several peppers into that same square would create overlapping foliage, difficult harvesting, and stronger competition for moisture.
The grid does not override crop biology. A vigorous tomato, sprawling squash, mature kale plant, or wide cabbage may require more than one square. Variety descriptions are useful here: a compact patio tomato behaves differently from an indeterminate tomato that continues producing long stems. Likewise, baby-leaf lettuce can be grown densely and cut young, while lettuce intended to form full heads needs more room.
Soil depth and bed access impose additional limits. Root vegetables need loose soil deep enough for the root form being grown, while heavily rooted or long-season crops compete below the surface even when their leaves appear separated. Beds should also remain narrow enough to reach the middle without stepping on the soil. Compaction damages the loose structure that makes intensive planting workable.
A common mistake is treating maximum density as the goal. The better target is the number of healthy plants that can mature without persistent shading, trapped moisture, or repeated wilting. Begin with a standard pattern, then remove weaker seedlings and widen spacing when a cultivar grows more strongly than expected.
How Many Plants Fit in Each Square?
Plant count should be selected from the crop’s expected harvested size, not from how many seeds come in the packet. The table below offers practical starting points for commonly grown vegetables and herbs. Local climate, cultivar, harvest stage, and whether a crop is trained vertically can justify wider spacing.
| Plants per square | Spacing pattern | Suitable examples | Adjustment to consider |
|---|---|---|---|
| 16 | Four by four | Radishes, small carrots, green onions | Use loose soil and thin promptly so roots do not intertwine |
| 9 | Three by three | Beets, spinach grown to moderate size, compact turnips | Allow more room when harvesting large roots or mature leaves |
| 4 | Two by two | Leaf lettuce, Swiss chard harvested young, compact herbs | Full-size chard or large lettuce heads may need a whole square |
| 1 | Centered | Pepper, compact eggplant, kale, head lettuce | Large cultivars may extend into neighboring squares |
| 1 per 2 or more squares | Expanded area | Tomato, zucchini, winter squash, large cabbage | Use supports or reserve an outer edge for spreading growth |
Seed packets may list row spacing that appears much wider than these patterns. Row recommendations usually include walking or cultivation space between lines of crops. In a small raised bed, the paths remain outside the planted area, so within-bed spacing can focus on the distance between plants. The listed in-row spacing is therefore often more informative than the distance between conventional rows.
Carrots illustrate why harvest size changes the calculation. A narrow-rooted cultivar harvested young can work at 16 per square, provided germination is followed by careful thinning. A broad or storage-type carrot needs more shoulder room. Leaving every seedling because it germinated successfully produces many thin or distorted roots rather than a useful harvest.
Leaf crops offer another choice. Lettuce planted four per square can form larger rosettes, while denser sowing works for repeated baby-leaf cutting. Those are different production goals, so they should not be judged by the same spacing rule. Dense baby leaves must be harvested early; leaving them to form heads turns a deliberate method into overcrowding.
Herbs also resist a single formula. Parsley may remain manageable within one square, but rosemary, sage, and mint can outgrow the grid. Perennial herbs are often better placed in separate containers or a dedicated area, especially when their roots or stems would interfere with seasonal replanting. Mint should be contained because its spreading growth can move beyond its assigned square.
Watch for small leaves, stretched stems, slow drying after rain, and foliage that is difficult to inspect. Those signs suggest the planting is too dense for the conditions, even if it matches a chart. Wider spacing is usually preferable to repeated pruning that removes productive leaves and does not resolve root competition.
How Should You Arrange a Compact Bed?
A productive layout accounts for height, support, harvest access, and crop duration before assigning individual squares. Start by identifying the side that receives the least disruptive shadow during the main growing period. Tall crops and trellises generally belong along that edge so they do not form a screen over low crops, although the correct side depends on the bed’s orientation and nearby structures.
Consider a four-foot-by-four-foot bed containing tomatoes, climbing beans, lettuce, radishes, and peppers. The tomato and beans could use a sturdy support along one outer edge, while peppers occupy open central squares and shorter greens fill the brighter front squares. Radishes can be placed where they will be harvested before adjacent crops expand. This is more effective than scattering tall crops through the bed and trying to redirect their shade later.
Vertical growing conserves surface area, but it does not erase root demand or plant weight. Indeterminate tomatoes need secure support and enough soil volume, while pole beans require a trellis that can withstand a full canopy. Position supports before roots fill the bed; driving stakes deeply beside established plants can damage roots. Tie stems with material that does not cut into enlarging growth.
Spreading vines create a different decision. A cucumber can climb if the variety produces grasping vines and the support provides many attachment points. Zucchini generally remains a broad plant rather than a true climber, even if its leaves are held upright. Winter squash can be directed over a bed edge, but the vine must not block a path or become vulnerable to foot traffic. Reserving multiple squares may be more realistic than forcing every large crop into a vertical plan.
Crop duration should shape the map as much as plant height. Radishes and baby greens leave quickly, whereas peppers and tomatoes may occupy their locations for most of the warm season. Pairing an early crop with a later-expanding neighbor can use temporary open soil, but avoid disturbing the established plant’s roots when harvesting. Pulling mature roots beside a young transplant can loosen its root zone; cutting the quick crop at soil level may be safer.
A practical layout check includes four priorities:
- Sun: Keep tall canopies from dominating lower crops.
- Reach: Leave every square accessible from a path.
- Support: Install trellises where they can be anchored securely.
- Duration: Put long-season crops where repeated harvesting and replanting will not disturb them.
The most common layout failure is filling the paper grid without imagining midsummer growth. Sketch each crop at mature width, mark permanent supports, and leave at least one easy route for pruning and harvesting. A square that cannot be reached without leaning on other plants is not being used efficiently.
Planting, Maintaining, and Replanting Each Square
Accurate placement at sowing time reduces thinning work, but germination and weather still require follow-up. Make a simple template or measure the planting points within each square, then sow according to the seed’s appropriate depth. When several seeds are used at one point as insurance, keep the strongest seedling and remove the extras before their roots become intertwined.
Cut unwanted seedlings at soil level if pulling them could disturb the plant being retained. This is especially useful for close patterns such as carrots. Delayed thinning is a frequent source of failure: the tops may initially look healthy, yet crowded roots cannot develop their intended shape. Check newly emerged squares every few days rather than waiting until the bed looks full.
Closely planted crops form a leafy canopy that may slow surface evaporation, but their combined roots can draw substantial water from a small soil volume. Test moisture below the surface instead of assuming shaded soil is wet. Water deeply enough to moisten the active root zone, then recheck rather than following an inflexible calendar. Containers and shallow raised beds may dry faster than ground-level beds, especially during warm or windy conditions.
Apply water near the soil when practical. Constantly wet foliage combined with dense growth can prolong leaf dampness and make inspection difficult. Leaves pressed together, recurring lower-leaf yellowing, and slow drying indicate that spacing or airflow needs attention. Remove badly placed plants rather than trying to preserve every planting point.
Succession planting makes the grid particularly useful because each harvested square becomes a clearly defined unit. After removing radishes, for example, clear crop debris, loosen only the upper soil without disrupting neighboring roots, and replant with a crop suited to the remaining season. Warm-season beans should not automatically replace spring greens if there is too little frost-free time left; compare the crop’s expected maturity period with local seasonal conditions.
Repeated planting also draws nutrients from the same limited soil. Add finished compost when resetting an empty square if the bed has settled or lost organic matter, but do not bury the crowns of neighboring plants. Fertility decisions should reflect the crop and the existing soil rather than a routine heavy application. Excessive feeding can produce lush foliage at the expense of roots or fruit, depending on the plant.
Keep a basic square-by-square record of variety, sowing date, plant count, and harvest result. A note that a particular kale shaded two adjacent squares is more useful next season than a generic spacing rule. Success appears as reachable produce, foliage that can be inspected, roots that reach usable size, and soil that remains evenly moist without staying saturated. Persistent wilting, undersized harvests, intertwined roots, or inaccessible foliage signal that the next planting should use fewer plants or a different location.
Frequently Asked Questions
Does every vegetable fit the standard 1, 4, 9, or 16 pattern?
No. Those densities suit many compact crops, but large tomatoes, squash, mature cabbage, and spreading herbs may need multiple squares or a separate container.
Can square-foot planting be used without a raised bed?
Yes. Mark a reachable in-ground plot into 12-inch squares, keep walking paths outside the planted soil, and confirm that drainage and soil structure are suitable.
How deep should a square-foot bed be?
Depth should match the crops and the soil beneath the bed. Shallow-rooted greens need less depth than long carrots or large fruiting crops, and compacted soil below limits usable root space.
Should companion planting determine the layout?
Prioritize mature size, sunlight, root competition, support, and harvest access. Companion claims should not override clear physical conflicts between crops.
How often can a harvested square be replanted?
Replant whenever enough suitable growing time remains and neighboring roots can be left undisturbed. Match the next crop's temperature needs and maturity period to the remaining season.
Conclusion
A useful square-foot layout begins with mature plant size, then accounts for shade, roots, supports, and access. Use standard densities as initial settings rather than fixed promises: compact root crops may suit tight patterns, while vigorous tomatoes, squash, perennial herbs, and full-size leafy crops need extra territory.
Map tall and long-season plants first, reserve accessible locations for repeated harvests, and install trellises before roots spread. During the season, thin promptly and respond to what the bed shows. Slow drying, undersized roots, stretched stems, or unreachable foliage justify wider spacing. After each harvest, assess the remaining weather, refresh only the open square as needed, and record the result. Those observations turn a simple grid into a layout adapted to the actual varieties, soil depth, light, and growing season in your limited space.


