
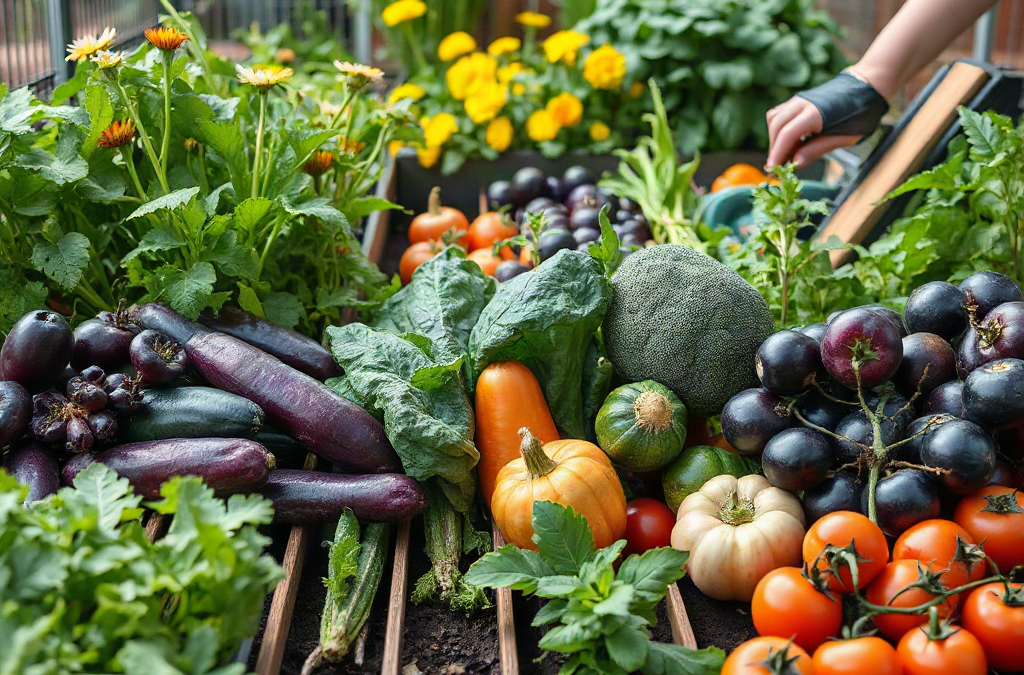
A vegetable garden layout for a beginning grower should place a small number of crops in sunny, reachable beds with permanent paths, nearby water, and taller plants positioned where they will not shade shorter ones. Limit beds to about 3–4 feet wide so the center can be reached without stepping on cultivated soil. Group vegetables by spacing and harvest habits, while leaving enough airflow around mature plants. Begin with one or two beds, record where each crop grows, and reserve open space for later sowings rather than filling every available inch on planting day.
How Do You Choose the Best Site?
Site conditions determine whether a layout remains workable after the first enthusiastic planting weekend. Observe the proposed area during the growing season and note where direct sun falls through the morning and afternoon. Fruiting vegetables such as tomatoes, peppers, cucumbers, and squash generally need the brightest position available. Leaf crops can tolerate less light, but deep shade produces weak growth and slow drying after rain.
Sun estimates made before nearby trees leaf out can be misleading. A bare branch canopy in early spring may become dense shade by late May. Buildings, fences, and hedges also cast longer shadows at some times of year. If two locations appear suitable, choose the one with stronger midday and afternoon light rather than the one that receives only a brief burst soon after sunrise.
Drainage comes next. After substantial rain, inspect the site for standing water, saturated depressions, or runoff traveling across the plot. Vegetable roots need both moisture and air; persistently waterlogged soil limits root function and can encourage root problems. Raised beds can improve a mildly slow-draining location, but they are not a reliable correction for a low spot that continually collects water. Redirecting runoff or selecting higher ground is usually the sounder decision.
Convenience has a measurable effect on daily care. A plot near the house and a dependable water source is easier to check for wilt, weeds, ripe produce, and insect damage. Dragging a long hose around corners may look manageable on paper but becomes frustrating when seedlings need frequent attention. Check that a hose reaches every bed without crossing fragile plants. If using watering cans, account for the repeated walk while carrying them.
Several practical conflicts may shape the final choice. Avoid placing a bed over buried utilities, against wood siding that needs maintenance, or beneath roof runoff. Keep enough clearance from fences to weed both sides and retrieve fallen produce. Tree roots can compete aggressively for water even when the canopy seems distant. A smaller, accessible plot with reliable sun and water will usually serve a beginning grower better than a larger plot at the far edge of the property.
Set Bed and Path Dimensions
Bed width should be based on reach, not on the maximum amount of soil that fits in the yard. A bed accessible from both long sides is commonly kept about 3–4 feet wide. A bed reached from only one side should be narrower, often around 2 feet. These dimensions allow sowing, weeding, and harvesting without placing feet in the growing area, where pressure compacts soil and reduces the pore spaces used by roots, water, and air.
Bed length is more flexible, but very long beds create inconvenient detours. A grower who must walk around a 20-foot row whenever a tool is left on the opposite side may soon step across it instead. Shorter beds or occasional cross-paths make routine work easier. Rectangles are simple to measure and cover with netting, while curved beds can fit an ornamental yard but complicate row covers, irrigation lines, and crop-spacing calculations.
| Layout Element | Practical Starting Range | Reason |
|---|---|---|
| Bed reached from two sides | 3–4 feet wide | Keeps the center within reach |
| Bed reached from one side | About 2 feet wide | Avoids stepping into the soil |
| Main path | 3–4 feet wide | Allows comfortable carrying and cart access |
| Secondary path | About 18–24 inches wide | Provides foot access where traffic is light |
Path dimensions must reflect the person and equipment using them. A narrow passage can conserve space, yet foliage from squash, tomatoes, or cabbage often extends beyond the bed edge and closes it. The main route should accommodate a wheelbarrow, basket, or kneeling gardener. Secondary paths may be tighter, provided they remain safe when wet. Grass paths look tidy but require mowing and edging; wood chips suppress mud but decompose and need replenishment; bare soil is inexpensive but readily grows weeds and becomes slippery.
Raised beds are useful when existing soil is compacted, contaminated, very stony, or physically difficult to reach. They also cost more to build and fill, and their soil can dry faster during hot weather. In-ground beds preserve moisture better in some climates and require fewer purchased materials. The beginner-friendly choice is not automatically a wooden box; it is the bed style that solves an actual site constraint without creating a larger watering or budget burden.
Mark beds and paths with stakes and string before moving soil. Walk the proposed routes while carrying a bucket, turn at each corner, and reach toward every bed center. This simple rehearsal reveals pinched turns and unreachable areas. A failing layout usually announces itself through shortcuts: feet crossing beds, hoses crushing corners, or tools left outside because paths are too narrow.
Where Should Each Vegetable Go?
Crop placement should account for mature height, spread, support, and harvest frequency rather than the size of a seedling. In the Northern Hemisphere, putting tall crops and trellises toward the north side of a plot generally reduces shading of shorter crops; in the Southern Hemisphere, the opposite edge is typically more suitable. Local structures and the sun’s path still matter, so use observed shadows rather than treating orientation as an inflexible rule.
Tomatoes, pole beans, and trellised cucumbers need sturdy support and clear access for tying and picking. Place the support before roots and vines occupy the bed. A trellis on an outer edge may be easy to install, but it should not block a path or prevent harvesting from its far side. Bush beans, peppers, carrots, and lettuces fit better in front of taller plants, provided each receives its needed spacing.
Sprawling crops demand honest space estimates. A single summer squash can occupy much more room than its transplant suggests, while pumpkins and some winter squash may send vines across paths and neighboring beds. Direct vines toward an open edge, train suitable varieties onto strong supports, or omit them from a small first plot. Trying to squeeze every desired vegetable into one bed often produces tangled foliage, difficult harvesting, and poor airflow.
Use the spacing on the seed packet or plant label as the initial reference, then distinguish between row spacing and spacing between individual plants. Intensive bed layouts sometimes use closer patterns than traditional rows, but reducing every gap without considering mature leaf spread can make inspection and watering difficult. Close planting may shade soil and suppress some weeds; excessive crowding slows leaf drying and hides pests or decaying produce.
Group crops by how they are maintained. Frequently harvested lettuce, herbs, snap peas, and beans belong near a convenient path. Crops that stay in place for a long season should not trap quick crops behind them. Perennial vegetables and herbs are better assigned a permanent area outside beds that will be rearranged annually. Strongly spreading mint, for example, is usually easier to control in a container than in open vegetable soil.
Companion-planting charts should not override basic geometry. A claimed pairing cannot compensate for shade, insufficient root room, or inaccessible rows. Prioritize light, mature dimensions, watering access, and crop timing. Keep a simple map showing varieties and planting dates. That record is more useful for next year’s crop rotation and spacing decisions than relying on memory after labels fade.
Build the Layout in Six Steps
A useful first plan can be drawn on graph paper or in a simple spreadsheet; specialized software is optional. Measure the actual space, including gates, hose connections, fixed trees, utility covers, and any area needed for compost or tool storage. Treat the drawing as an operating plan for movement and maintenance, not merely as a diagram of where plants fit.
- Draw the boundary to scale. Mark north, major shadows, slopes, and water access so that environmental constraints remain visible.
- Place the main path first. Connect the entrance, water point, and each bed without requiring anyone to step over crops.
- Add reachable beds. Keep their width within comfortable arm’s reach and leave turning room at bed ends.
- Choose a short crop list. Favor vegetables the household eats and crops suited to the local planting season.
- Assign mature plant space. Position trellises and large plants before filling gaps with compact or quick crops.
- Reserve succession space. Leave part of a bed available for a later sowing instead of planting the whole plot at once.
Consider a 10-by-12-foot sunny space as a realistic example. A beginning grower might use two 3-foot-wide beds with a generous central path and clearance around the perimeter. One bed could hold supported tomatoes along its less shade-sensitive edge with peppers in front. The other might contain short rows of bush beans, carrots, and lettuce. A small unplanted strip could receive another lettuce or bean sowing after the first planting is established.
This restrained plan may appear less productive than a diagram packed edge to edge, but it leaves room to kneel, water, inspect leaves, and harvest without damage. Adding a third bed later is easier than rescuing an oversized plot from weeds during the hottest part of the season. Containers can hold herbs near the kitchen or accommodate a crop that does not fit the main beds.
Before buying plants, compare the plan with local frost timing and each crop’s temperature preference. Cool-season vegetables and warm-season vegetables may use the same space at different points in the year, depending on climate. Succession planting turns open ground into a scheduling asset: radishes or lettuce may finish before a warm-season transplant needs the area, while a later bean sowing can replace an early crop. Avoid assuming that every empty patch must be filled immediately.
Review the layout after watering and again after plants approach mature size. Signs that it works include dry-footed paths, easy access to every plant, supports that remain stable, and enough visibility to notice weeds or damaged leaves. Warning signs include standing water, plants leaning into walkways, a hose repeatedly snagging corners, and produce that cannot be reached without stepping into a bed. Adjust paths or remove a crowded plant rather than preserving a flawed drawing at the expense of the crop.
Frequently Asked Questions
What is the easiest vegetable garden shape for a beginner?
Simple rectangular beds are easy to measure, irrigate, cover, and divide into crop spaces. Their width matters more than their length: keep the center reachable from a path.
Should vegetable rows run north to south?
North-to-south rows can distribute light more evenly in some open sites, but surrounding shade and tall crops matter more. Observe the site and place tall supports where their shadows cause the least interference.
How large should a first vegetable plot be?
Choose an area that can be weeded and watered consistently, even during busy weeks. One or two reachable beds often teach more than a large plot that becomes difficult to maintain.
Can vegetables and herbs share the same bed?
Yes, when their light, moisture, and spacing needs are compatible. Keep aggressive spreaders such as mint contained, and avoid letting tall herbs shade compact vegetables.
Do raised beds need paths on every side?
Provide access wherever crops must be reached. A bed against a wall or fence should be narrow enough to tend entirely from the open side, with clearance for repairs and weed control.
Conclusion
A successful first layout favors access and manageable work over maximum plant count. Confirm the site’s usable sunlight and drainage, then draw paths before assigning crop space. Keep beds narrow enough to reach, allow for mature foliage, and locate trellises where their shade will do the least harm. A short crop list also makes watering, harvesting, and recordkeeping easier.
Mark the design outdoors before construction and test it with the hose, wheelbarrow, or watering can you expect to use. Plant only part of the available space at first, leaving room for later sowings and inevitable adjustments. Once plants mature, note blocked paths, persistent wet spots, and unused areas on the map. Those observations provide a precise basis for enlarging or revising the plot next season.


