
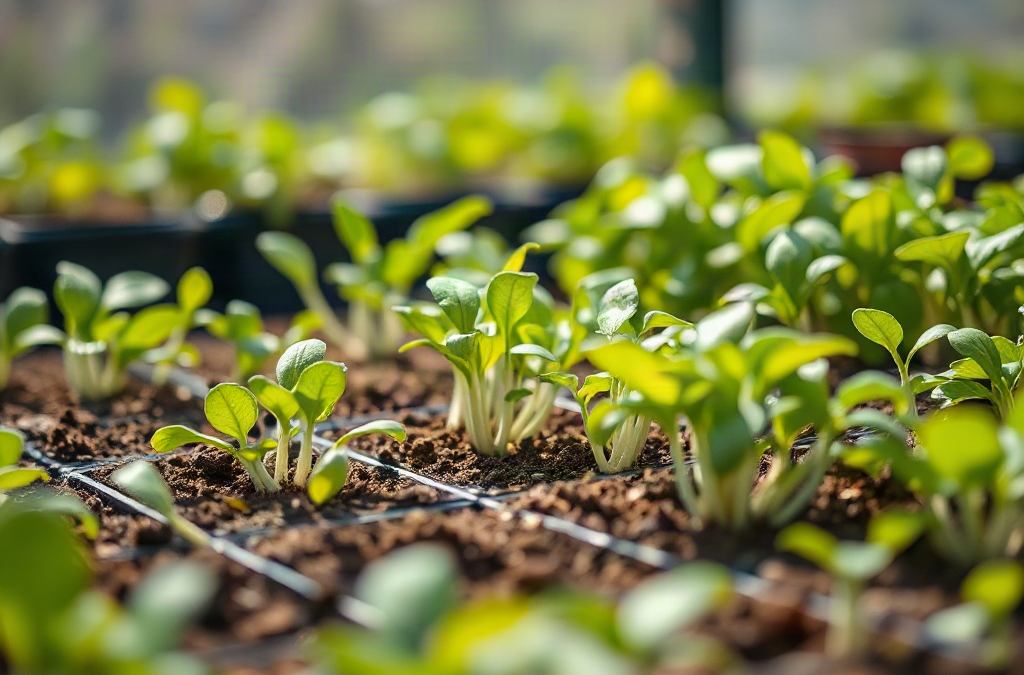
Microgreens outdoors exposed to heat and pests need morning light, afternoon shade, steady root-zone moisture, fine insect mesh, and frequent inspection to remain tender and marketable. Heat can dry shallow trays within hours, stretch or scorch seedlings, and make cool-season crops such as broccoli and radish decline quickly. Flea beetles, caterpillars, aphids, slugs, and birds may damage an entire tray before harvest because the seedlings are densely spaced. Place trays where air can circulate, water the medium rather than soaking leaves, secure mesh above the canopy, and harvest promptly when flavor, color, or texture begins to deteriorate.
Why Do Outdoor Microgreen Trays Overheat So Quickly?
A shallow microgreen tray reacts to outdoor weather much faster than a raised bed or an in-ground row. Its small volume of growing medium stores little water, while dark plastic can absorb solar heat. A tray that felt evenly moist in the morning may be dry around the edges by midafternoon, especially on a hard surface that reflects or radiates heat.
Young seedlings have limited roots and little stored energy. When the medium becomes hot and dry, leaves may fold, wilt, fade, or develop dry margins. Germination can become uneven if trays are exposed too early: seeds near the sunny edge may dry before their roots enter the medium, while seeds in a cooler area continue normally. Brassica microgreens such as broccoli, kale, mustard, and radish generally show heat stress sooner than warm-season crops such as amaranth or basil, although crop response also changes with humidity, wind, seed density, and seedling age.
Heat and water loss must be considered together. Strong wind may keep leaves from feeling excessively hot while still pulling moisture rapidly from the medium. Conversely, a sheltered tray may retain water but develop stagnant, humid foliage. Dense sowing makes this balance narrower because thousands of stems share the same shallow root zone and restrict air movement near the surface.
Location is therefore more useful than a rigid watering schedule. Morning sun followed by bright afternoon shade is usually easier to manage than uninterrupted midday exposure. Set trays on a slatted bench, wire shelf, or other stable support that permits air movement below them. Avoid placing them directly on sun-heated concrete, black roofing, metal, or stone. A covered porch can work if it receives enough useful light and does not trap hot air.
Do not assume that repeated overhead spraying solves heat stress. Wet leaves can dry quickly while the root zone remains unevenly watered, and frequent surface moisture may encourage weak stem bases or algae. Check the medium below the surface and lift the tray to judge its weight. A light tray with wilting edges needs root-zone water; a heavy tray with limp seedlings may instead be suffering from heat, poor drainage, or restricted airflow.
How Should Shade, Water, and Airflow Be Managed?
Effective heat protection reduces peak exposure without leaving seedlings dark, saturated, or enclosed. A shade cloth, open-sided canopy, or naturally shaded position can intercept harsh afternoon sun while preserving morning light. The cover should sit above the crop rather than resting on leaves, and its sides should remain open enough for warm air to escape.
Moderate shade is a better starting point than a heavily darkened enclosure. Too little shade leads to rapid drying and leaf scorch; too much produces elongated, pale stems that lean toward the available light. Watch the plants rather than relying only on the product label. Compact stems, open leaves, and stable color indicate that the light balance is reasonable. Long stems, pronounced leaning, or slow drying suggest the site is too dim or poorly ventilated.
Water should reach the entire root zone without leaving trays standing in stale water. Bottom watering is useful after roots have established because it keeps much of the canopy dry and draws water through the drainage holes. Add a shallow amount to a solid lower tray, allow the medium to absorb it, and remove water that remains after the tray is evenly moist. Very young seedbeds may still need gentle top watering because their roots have not reached the bottom.
Timing changes with exposure. An early check prepares trays for the day, while a second check during the hottest period catches rapid drying. That does not mean every tray should be watered twice. Pea and sunflower shoots in deeper media may retain moisture longer than a thin tray of radish. Watering by the clock can leave one crop dry and another waterlogged.
Use this order when conditions turn hot:
- Move or shade the trays: reduce intense afternoon radiation before adding excessive water.
- Check moisture at root depth: inspect the center and edges because they often dry at different rates.
- Restore even moisture: water gently and confirm that blocked drainage holes are not holding a stagnant layer.
- Preserve airflow: keep covers elevated and avoid crowding multiple trays against a solid wall.
- Reassess crop quality: harvest usable greens early if repeated heat is making them tough, bitter, or uneven.
Evaporative cooling from misting is temporary and can be misleading. It may be useful during a brief relocation or emergency, but it is not a substitute for shade and adequate root moisture. Clean water, clean trays, and clean harvesting tools deserve extra attention because microgreens are often eaten raw. Discard crops with foul odors, slimy tissue, unexplained decay, or obvious animal contamination rather than trying to rinse away the problem.
Which Pests Damage Outdoor Microgreens?
Outdoor microgreens concentrate tender leaves into a small, accessible area, so modest pest activity can cause disproportionate losses. The likely attacker depends on the crop and damage pattern. Tiny round holes in mustard, kale, radish, or broccoli commonly point toward flea beetles. Ragged missing tissue or dark droppings suggests caterpillars, while curled or sticky leaves may indicate aphids. Slugs and snails usually feed at night and leave irregular holes, clipped seedlings, or shiny trails.
Birds and rodents create a different pattern. They may pull sunflower or pea shoots to reach the seed, scatter medium, or remove groups of seedlings rather than nibbling individual leaves. Fungus gnats are usually more closely associated with persistently wet organic media; adults are conspicuous, but the moisture conditions supporting them are often the more useful management clue. Ants may visit trays without eating the crop, although their presence can accompany aphids or dry nesting material.
Fine insect mesh installed immediately after sowing is more dependable than waiting for visible damage. Support the mesh on hoops or a simple frame so emerging leaves do not press against it. Bury, clip, or weight every edge. A loose corner is enough for small moths or beetles to enter, and a cover touching the canopy allows insects to feed through it. Mesh excludes insects only if they were not already present in reused medium, nearby plant debris, or the tray.
Physical protection involves tradeoffs. Very fine mesh can reduce airflow and raise temperatures, particularly when draped tightly over crowded trays. Inspect conditions under the cover during hot weather and combine mesh with overhead shade when necessary. Shade cloth alone is not reliable insect exclusion because its weave and unsecured edges usually leave access points.
For slugs, elevate trays, clear damp hiding places beneath benches, and inspect after dusk or early in the morning. For caterpillars and aphids, remove affected seedlings or small colonies promptly before damage spreads across the dense canopy. Spraying edible shoots close to harvest is often less practical than exclusion, sanitation, or discarding a badly affected tray. Any pest-control product considered for use must be explicitly labeled for the crop, setting, and intended application; a product described as natural or organic is not automatically appropriate for microgreens near harvest.
Check both leaf surfaces, the tray rim, drainage area, and the space beneath covers. Damage that continues despite intact mesh often indicates that pests were enclosed with the crop or that slugs are entering from below. Identifying that route prevents repeated treatment of the wrong problem.
A Daily Protection and Harvest Plan
A short inspection routine is more reliable than reacting after an entire tray collapses or becomes riddled with holes. Begin with the forecast and the site, then examine individual trays. Hot, dry wind calls for closer moisture checks; a warm, still, humid period calls for more attention to airflow and stem condition. Recent pest activity nearby justifies checking mesh seams before inspecting leaves.
In the morning, lift each tray, look for uneven germination, and inspect the perimeter where drying and pest entry commonly begin. Water according to tray weight and root-zone moisture, not merely the appearance of the surface. Confirm that shade and insect barriers are firmly attached but can release hot air. Remove fallen leaves and spilled seed that may shelter pests.
During the hottest part of the day, compare shaded and exposed edges. Wilting limited to the sunny side points toward excessive radiation or uneven moisture. Uniform collapse in a wet tray suggests that adding more water is unlikely to help. Move the tray into bright shade, improve air movement, and examine the roots and stem bases for discoloration or decay. Seedlings that recover after cooling and proper watering can remain in production, but repeated severe wilting usually reduces texture and shelf life.
At the evening check, look for fresh feeding, droppings, slime trails, displaced medium, and gaps beneath the mesh. This is also a useful time to decide whether to harvest the next morning. Tender crops should not be left outdoors simply to gain more height when heat, pests, or declining flavor are already narrowing the harvest window.
Harvest when the crop has reached the stage intended for eating and still has clean, firm leaves. Use a clean cutting tool and keep cut greens away from soil, dirty tray exteriors, pets, and pest debris. Harvesting during a cooler part of the day generally makes handling easier than cutting wilted foliage in afternoon heat. Follow appropriate food-handling practices and refrigerate harvested greens promptly.
The plan is working when moisture remains reasonably even, stems stay upright and compact, leaves show little new feeding, and the crop dries normally after watering. Warning signs include a sour smell, persistent condensation, expanding bald patches, daily wilt despite wet media, or new holes appearing under a closed cover. When several failures occur together, restarting a tray may be more sensible than extending production with repeated watering or improvised treatments.
Frequently Asked Questions
Can microgreens remain outside in full sun?
Some established crops tolerate morning sun, but shallow trays often overheat or dry unevenly in intense afternoon exposure. Bright shade or a site with afternoon protection is easier to manage during hot weather.
How often should outdoor microgreens be watered?
Check them at least each morning and again during hot or windy periods, but water only when the root zone is beginning to dry. Tray weight and moisture below the surface are better guides than a fixed schedule.
Will shade cloth keep insects away?
Not reliably. Shade cloth reduces solar exposure, while fine insect mesh is designed for exclusion. Use a supported, edge-secured mesh barrier and add separate shade above it if temperatures rise.
What causes tiny holes in radish or broccoli microgreens?
Flea beetles are a common suspect when brassica leaves have numerous small round holes. Inspect the tray and nearby plants, then repair or install fine mesh before additional feeding occurs.
Should pest-damaged microgreens be harvested?
Minor feeding does not automatically make a tray unusable, but discard greens with pest residue, slime, decay, animal contamination, or damage that prevents clean handling. Do not rely on rinsing to correct questionable sanitation.
Conclusion
Outdoor microgreen production succeeds when the tray environment is managed as closely as the crop itself. Choose a position with useful morning light and protection from harsh afternoon sun, keep the growing medium evenly moist without leaving stagnant water, and preserve airflow around dense seedlings. Install fine mesh before insects find the tray, secure every edge, and inspect underneath it rather than assuming the barrier is working.
Start the next growing day by checking tray weight, leaf condition, drainage, and cover seams. Treat uneven wilting, fresh holes, slime trails, or displaced medium as diagnostic clues rather than adding water automatically. If continuing heat is reducing tenderness or pests are gaining ground, an earlier clean harvest is usually preferable to holding the crop outside for additional height. Discard trays showing decay, foul odors, or contamination that cannot be handled safely.


